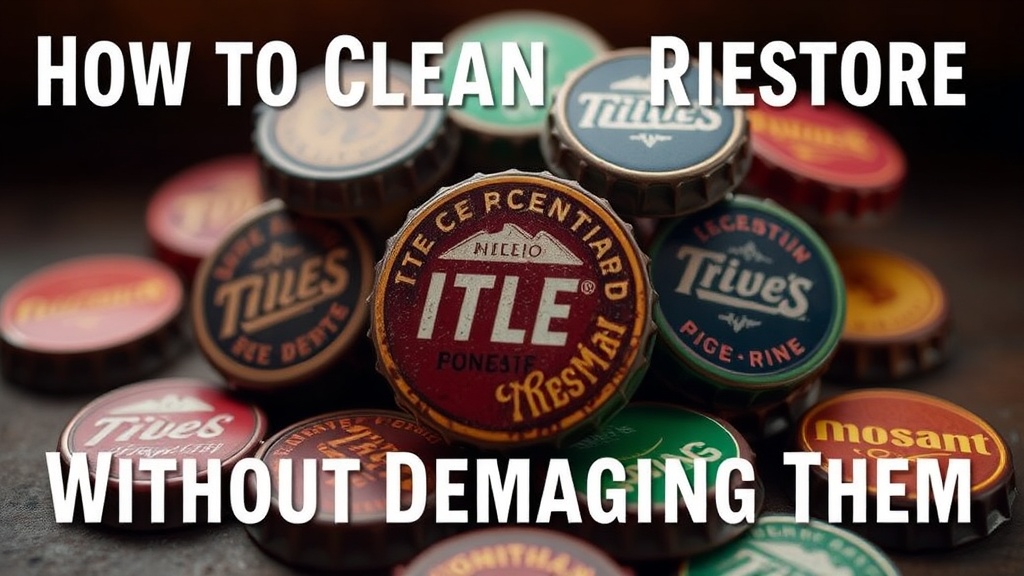
How to Clean and Restore Vintage Bottle Caps Without Damaging Them

What's the Best Way to Clean Rust Off Vintage Bottle Caps?
The safest method involves a gentle soak in distilled white vinegar followed by a light brushing with a soft toothbrush. Rust is the enemy of every collector, but aggressive cleaning causes irreversible damage to patina, paint, and the underlying metal. This guide covers everything from removing surface grime to handling delicate cork-lined caps from the 1940s and 50s—plus the mistakes that'll destroy a cap's value faster than you can say "Coca-Cola."
You've just acquired a lot of 200 vintage bottle caps at an estate sale in Smiths Falls. Some are beauties—pristine Orange Crush caps from the 1960s, a few rare Moxie specimens, and what looks like an early Pabst Blue Ribbon. But they're filthy. Grime in the grooves. Surface rust spotting the edges. One smells vaguely of mildew. Here's the thing: diving in with steel wool and dish soap will turn that find into trash.
What Supplies Do You Need for Safe Bottle Cap Restoration?
You'll need basic household items plus a few specialty products available at hardware stores or online retailers like Amazon and Canadian Tire. The goal isn't sterilization—it's preservation.
| Supply | Purpose | What to Avoid |
|---|---|---|
| Distilled white vinegar (5% acidity) | Loosening rust and mineral deposits | Apple cider vinegar—sugars stick |
| Baking soda | Neutralizing acid, gentle abrasion | Abrasive powders like Comet |
| Soft-bristle toothbrushes | Cleaning grooves without scratching | Wire brushes—ever |
| Microfiber cloths | Drying and buffing | Paper towels—leave fibers |
| Cotton swabs (Q-tips) | Detailed cleaning | Cotton balls—shed too much |
| Distilled water | Final rinse—no mineral deposits | Tap water in hard water areas |
| Mineral oil or Renaissance Wax | Protective coating post-cleaning | WD-40—attracts dust |
Buy a few plastic condiment trays from the dollar store. They're perfect for organizing caps during the soaking process—keeps your Sprite caps separate from your 7-Up specimens (yes, collectors care about the difference). A magnifying glass or jeweler's loupe helps too. What looks clean to the naked eye often reveals pitting or hairline cracks under magnification.
Can You Restore a Bottle Cap Without Losing Its Patina?
Yes—patina preservation requires minimal intervention and understanding that some "dirt" is actually protective oxidation. The verdigris on old brass liners? That's character. The slight darkening around a 1950s Stroh's logo? That's history. Strip it away and you've got a shiny piece of nothing.
Start with the dry method. Lay caps on a clean towel and use a soft brush—an old makeup brush works beautifully—to remove loose debris. Work from the center outward. This alone improves appearance dramatically for caps that've been sitting in a drawer since the Trudeau administration (the first one).
For caps with stuck-on grime, create a paste of baking soda and distilled water. Apply with a cotton swab. Let it sit for two minutes—not twenty. Gently circle the affected area. Rinse immediately. The catch? Baking soda is mildly abrasive. Use too much pressure and you'll polish the cap beyond its original finish.
Vinegar soaks work for rust but require vigilance. Mix one part distilled white vinegar with one part distilled water in a glass container. (Plastic can hold static—glass won't.) Submerge caps for 30 seconds to 3 minutes. Check every 30 seconds. You'll see bubbles forming—that's the acetic acid reacting with iron oxide. Once bubbling slows, remove and neutralize immediately in a baking soda solution.
Never leave caps in vinegar overnight. You'll return to featureless disks of regret.
How Do You Handle Cork-Lined Caps from the 1940s and 50s?
Cork-lined caps demand special handling—moisture destroys the liner, rendering the cap worthless to serious collectors. These pre-1960s specimens from breweries like Molson and Labatt are increasingly scarce.
The approach flips entirely. No soaking. No vinegar. No water contact with the underside.
Hold the cap by its crimped edge. Use a dry brush on the top surface only. For the sides, wrap a microfiber cloth around your pinky finger and rotate the cap against it—like shining a shoe. If the cork liner protrudes slightly (common on well-used caps), don't press it back in. That's damage from the bottling process. Document it.
Some collectors apply a tiny amount of Renaissance Wax—a microcrystalline wax used by museum conservators—to the metal surfaces only. It creates a moisture barrier. Available from specialty suppliers and some woodworking shops, it's worth the $25 investment for a 65ml tin. A little lasts years.
Here's the thing about cork liners: they're organic material. They age. They crumble. If you've got a truly rare specimen—a Dow Brewery cap from 1947, say—consider leaving it completely untouched and displaying it cork-side-down in a shadow box. Sometimes "dirty" is the right condition.
When to Stop Cleaning
Recognition matters more than perfection. Stop when:
- The manufacturer's logo is legible
- No active rust remains (surface staining is acceptable)
- The cap feels stable—no flaking, no loose edges
- You're tempted to "improve" the appearance further
That last point catches everyone. You're three caps into a Saturday afternoon project. The Pepsi caps are gleaming. The Crush caps look catalog-ready. Then you hit a stubborn Hires Root Beer specimen with some discoloration. Five more minutes of scrubbing won't hurt, right?
Wrong. Stop. Step away. Live to collect another day.
What's the Proper Way to Store Cleaned Bottle Caps?
Cleaned caps need stable, low-humidity environments away from direct sunlight and temperature fluctuations. The Ottawa Valley's humid summers and dry winters wreak havoc on metal if you're not careful.
Acid-free cardboard albums with clear sleeves remain the gold standard. Companies like Amos Advantage and Lighthouse Publications make specialized pages for crown caps. Avoid PVC plastics—they off-gas chemicals that accelerate corrosion over decades.
For display, shadow boxes with UV-protective glass work beautifully. Add a small silica gel packet (replaced seasonally) to control moisture. Don't mount caps with glue or adhesive dots—that's permanent modification. Use small metal brackets or custom-cut foam instead.
Climate control matters more than you'd think. Basements flood. Attics bake. Bedrooms fluctuate with heating seasons. The catch? The most stable room in your house is often a closet interior—not sexy, but protective.
Recognizing Irreversible Damage
Some caps arrive beyond help. Know the signs:
- Active flaking—metal peeling like onion skin. The cap's structural integrity is compromised.
- Deep pitting—rust has eaten through the metal substrate. Cleaning exposes holes.
- Fused cork—the liner has bonded to the metal through moisture damage. Attempting separation destroys both.
- Paint loss—the original lithography is already gone. What remains is ghost image.
These specimens aren't failures. They're educational tools. Keep one "ruined" cap on your workbench as a reminder of what happens when storage goes wrong. Better yet, use heavily damaged common caps for practice. Your first vinegar soak should be on a 1980s Labatt Blue cap, not a 1930s Carling from the Ottawa brewery.
"The best restoration is the one you never had to do." — Old collector saying, probably invented by someone who learned the hard way.
Building relationships with other collectors helps here. The Brewery Collectibles Club of America runs regional chapters where members trade tips, display techniques, and occasionally, cautionary tales. Canadian collectors gravitate toward the Canadian Bottle Cap Association—less formal, equally passionate, heavy on the Molson and Labatt expertise.
Local sources matter too. Estate sales in Eastern Ontario—Cornwall, Brockville, the townships—occasionally yield pre-1960s brewery lots. The old O'Keefe brewery connection runs deep in this region. Inspect before buying. A cap that's been stored in a damp shed since 1978 may clean up, or it may be archaeological debris. Factor that into your offer.
Worth noting: documentation beats perfection every time. A dirty cap with provenance—"From the basement of the old Queen's Hotel, 1987"—often outvalues a pristine specimen with no story. Photograph caps before cleaning. Record where they came from. That context is what separates collecting from accumulating.
The tools sit ready on your workbench. The vinegar's measured. The caps await. Take it slow. Breathe. Remember—you're not just cleaning metal disks. You're preserving fragments of history, one gentle brush stroke at a time.
Steps
- 1
Assess Your Bottle Caps and Gather Gentle Cleaning Supplies
- 2
Soak and Clean Caps Using Mild Solutions and Soft Brushes
- 3
Dry Thoroughly and Apply Protective Coating to Prevent Future Rust